Macarons! My first encounter with macarons might have been at Bouchon Bakery in Times Warner Center back in 2006 during one of my weekly pilgrammages to the bakery. While gazing at the glass display case, anxiously trying to decide what to get as the line inched inevitably forward (my favorite remains their epic nutter butter sandwich cookie) my eyes made contact with a box of adorable, round, pebble-smooth macarons, stacked gracefully under the glass. If memory serves me right, I bought a brown, chocolate flavored one, but by the time I eagerly opened up my paper carry-bag, was crestfallen to see that its beautiful shell had cracked! To make matters worse, the whole thing pretty much shattered after my first bite. Although it was not a winner on my list that day, I became intrigued nonetheless.
Fast forward 1 year, and I was living in London, on a weekend trip to Paris with a good friend. It was a Sunday, it was in August and it was raining. Unsurprisingly, absolutely nothing was open...except... a cozy little pastry shop on a corner with its lights on. My first thought, after experiencing a highly unsatisfactory croissant the day before, was to check out the pastries so that France could be redeemed in my eyes as the culinary standard for pastries and confections. However, when I saw the brilliantly colored macarons simply dominating the store, I knew it was macarons that I must get. I bought a box of belligerently expensive (but beautifully packaged) macarons to take back to London with the full intention of sharing them, but proceeded to eat every single one by the next day. That store was Laduree, and my relationship with macarons was never to be the same again.
Although Laduree's macarons were beautiful, I was slightly disappointed at how they tasted compared to how I imagined they would taste based on their flavor names. It wasn't until I moved back to New York a few months later, when I stumbled across macaron cafe in Herald Square during a stroll in the neighborhood. It was another serendipitous encounter, and one which made me fall in love with the gorgeous, bite-sized concoctions. Their macarons are thicker, chewier and the salted caramel flavor offers 3 truly sultry and satisfying bites, putting you on cloud 9 with music in your ears for a brief moment. Everytime I passed by (which was a lot, considering I worked and lived nearby), I would purchase 1 or 2 macarons, hastily stuff them in my bag to avoid temptation, only to end up taking them out again to admire, and popping them in my mouth. When it comes to macarons, I have no self restraint.
I finally learned how to make macarons this summer at the Cooking House in Malaysia after eating my decent share to make me somewhat of an authority to judge them. Everyone has different preferences, but I tend to like a fudgier cookie inside with a lightly crispy shell that only breaks in places where you bite into it. I don't like fillings that are too creamy and always look for a shoot of intense flavor (after all, macarons are desserts in a bite-sized package). Below is the recipe I learned how to make macarons with, and comes from Pierre Herme. I have inserted my own notes in blue.
However, before you start, here is a list of supplies needed (read this first!):

Pictured: Digital kitchen scale, water cup measure, stainless steel mixing bowl, piping bag, piping nozzle, oven
- Pastry /wax paper (prepare in advance): I use Glad baking sheets and cut them to the size of my baking pan. It’s helpful to cut out a bunch of pastry sheets in advance and place them under a heavy book so that they are flat when you need to use them.
- Paper Grid (prepare in advance): I created a grid using a crayon and a piece of paper the size of my baking sheet to use as a guide under my baking sheets when piping the macarons. The grid squares are 1.5 in x 1.5 in and I can make 15 macarons using this grid with my small oven. You can use this paper grid over and over again.

- Digital kitchen scale: This is essential! All of the ingredients are given by weight, and you need to be very accurate with the amount of your ingredients. I like digital scales where you can re-calibrate as needed using different containers.
- Candy thermometer: Another essential item! This is needed to check the temperature of the sugar syrup in Part B as well as to check the temperature of your oven. Make sure it’s long enough so you don’t burn your hand when you need to check the temperature of something.
- Metal (stainless steel) mixing bowl: I like using a wide faced / small-bottom steel mixing bowl for beating egg whites. I am not sure if the material matters, but this size and design makes it easier to move a hand mixer around when beating.
- Seive: The holes shouldn’t be too fine but they shouldn’t be too large either. ½ mm holes should be ok, but you may just have to try using one first to make sure.
- Piping bag: Buy a big stack - you’ll need several of these each time you make macarons and for piping fillings.
- Piping nozzle: A metal nozzle that you need put at the bottom of the piping bag. Mine is about ¼ inch in diameter.
- Mixing bowl of any material: Must be big enough to contain and mix the egg white + almond batter.
- Small saucepan: One that won’t burn at the bottom to boil the sugar and water mixture.
- Cup measurer: To measure the amount of water used for boiling the sugar+water mixture (75 ml for the full recipe, 37-38 ml for the half recipe.)
- Plastic spatula: Have a sturdy but bendable one that won’t break when mixing (batter can get quite stiff in Part A).
- Oven: I have a small Tefal convection(?) oven at home. I've tried using combination microwave ovens as well and it works as well except those tend to burn the tops a bit faster
- Electric Mixer: I use a 20+ year old Philips electric hand mixer. Any will do!
Basic Macaron Recipe for Shells
Makes about 100 shells / 50 macaron sandwiches
Note: I find that halving the recipe yields an optimal amount for the home cook (i.e. 1 full piping bag and ~30 macaron sandwiches), but cutting it down to ¼ of this recipe makes it too difficult to beat the small amount of egg whites in Part B.
Part A
300 g ground almond
*15 g green tea powder / cocoa powder if making green tea or chocolate macarons
300 g icing sugar
110 g egg white
Part B
300 g castor sugar
75 ml water
*30 g flavored syrup if adding a flavor - add when sugar dissolves
Part C
110 g egg white
Method
1. Mix ground almond and icing sugar together. If you are making green tea or chocolate macarons, mix in the green tea powder or cocoa powder as well in the bowl. Sieve Part A .

2. Add the 110 g egg white in part A into the ground almond and icing sugar mixture. Mix into a paste with a plastic spatula. Set aside. Note: add in powdered food coloring at this point if you have powdered coloring. I use liquid coloring and add it in at a later stage.

3. Using another clean bowl (I prefer a stainless steel, round bottom bowl), whisk the egg white in part C until soft peak forms.

4. Dissolve sugar in the water in a small pot and heat sugar syrup to 120 C (test with a candy thermometer). Note: flavoring goes into the syrup at this point, so don’t forget to do so when boiling the sugar and water! Also 110 C works better for me.


When it has reached 120 C, gradually pour into the meringue. Beat until hard peak. Note: I start beating the egg whites until soft peaks form, then I pause for a minute to dump the water and sugar (don’t stir) into a small pot while inserting a candy thermometer into the mixture. I then go back to mixing the egg whites again until the syrup mixture bubbles and the thermometer reads 110 C and turn off the heat. Then I hold the pot and let the syrup flow into the egg whites slowly while mixing. I mix on a high speed until peaks are stiff (see photo) but it doesn’t take that long (3 mins or so of high speed beating). Add any food coloring when egg white and sugar mixture is stiff!

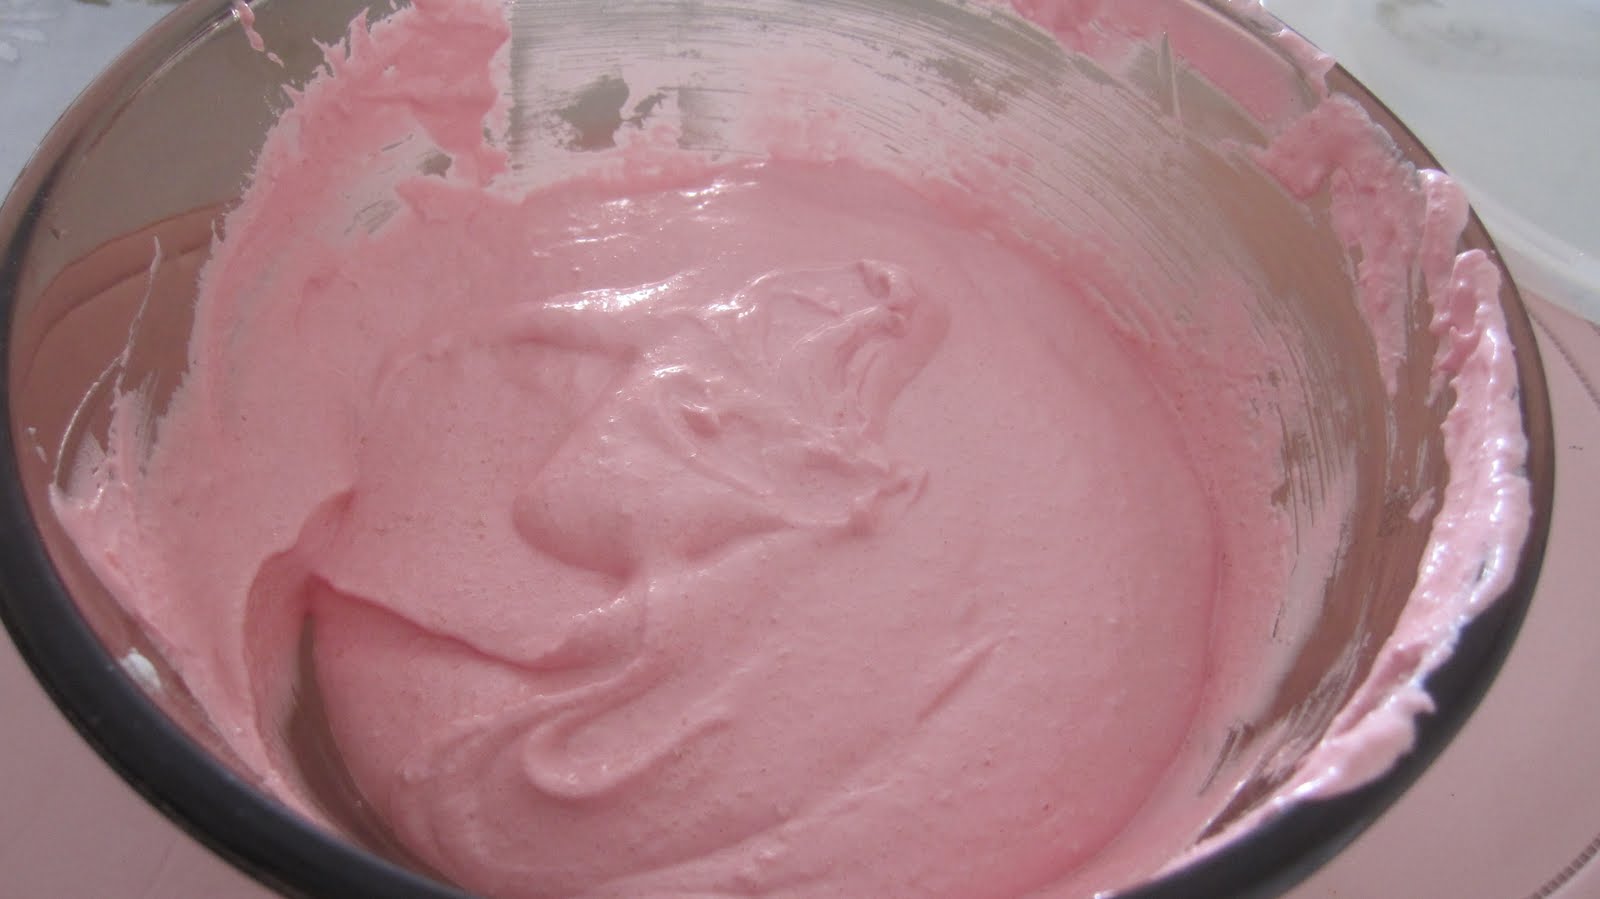
5. Gently fold meringue into the paste (for this batch, I made pink shells by adding red food coloring to the egg whites).

Fill the batter into a piping bag and pipe into a parchment paper. The filling should have magma-like consistency. Note: half of this recipe fills exactly 1 piping bag. Make sure that the tip of the piping bag is cut straight across so that the filling doesn’t come out lopsided.

6. Leave it to form a skin on the surface (does not stick onto you finger) in cold, dry place for approx. 1 or 2 hours. Note: There may be an optimal time to leave the skins out for drying but I haven't figured it out exactly yet (i.e. if you leave it out to dry for too long, the macarons may come out lopsided or have feet that are too thick. If you don't let it dry enough, the tops crack). The right amount of time depends on how dry or humid your room is. Make sure you put on the decorations before the skin forms. Lastly, don't worry if there's a little tip left over right after piping - they usually die down as the shell spreads when drying. Don't push the tip in with a wet finger as it leaves the macaron too wet and unable to dry normally!

7. Bake at 150C for 15 mins. Note: this really depends on your oven. For mine, the tops burned at 150 C, so I needed to reduce the temperature to 130 C and bake the macarons for 8 mins on the upper level and then 15 mins on the lower level for the bottoms to form a solid crust that doesn’t get left on the paper when removing.

The macaron should come off of the baking sheet very easily and leave no mark. If it's sticking to the sheet, let it bake for a few more minutes (sometimes the sides of the bottom crust turn slightly brown and indicates it is done):

There should be a 'feet' that form uniformly around the edge

Pipe the filling onto the shells when cool:

Sandwich together, and ta da! Finished macaron!

I like macarons kind of fudgy in the middle:

Some fun pictures of finished macarons followed by additional notes:


Some additional comments on the ingredients and general process below:
Ingredients:
- Almond: Ground almonds (i.e. almond flour) bought from baking supply store. I usually buy in increments of 500 g and can make a good 3 batches using the half-recipe
- Eggs: Some say you need to let them age first. I use fresh ones but leave them out on the counter to reach room temperature for an hour or two before using. You can make lemon curd or other recipes that require egg yolks
- Icing sugar: Plain old icing sugar, any brand
- Caster sugar: Plain old regular sugar, any brand
Other notes:
- Time: Macaron-making is really time consuming, not just in measuring out the ingredients, but time spent also includes piping, waiting for the skins to dry (1+ hours) as well as baking. I usually set aside an entire afternoon (at least 4 hours or more) to make these and try to do as much as I can in advance, such as preparing the baking sheets and sifting the dry ingredients.
- Seiving: The most tedious and time-consuming part for me is sifting the ground almond and icing sugar through a sieve because it takes forever if done manually. Try to do this ahead of time when you have downtime in front of the TV and then you can take a break and put the mixture aside until you need to use it.
- Egg-separation: Separate the eggs really carefully using several different bowls if you need to (i.e. cracking the egg and separating in 1 bowl, then transferring the egg white to another bowl for egg-white collection to prevent contamination)
- Beating eggs: You don’t need to beat the egg whites too much initially (2 mins until the egg whites become somewhat like stiff soap suds) before adding in the sugar syrup. (see picture above). After adding in the sugar syrup, you also don’t need to beat too long until the peaks become stiff. However, if using a hand mixer, I like to make really rapid, rough strokes zigzagging through the mixture. Once the mixture feels firm and leaves a relatively straight peak when you stop beating, it’s ready to mix into the almond + icing sugar mixture. (picture above)
- Piping shells: Hold the empty piping bag with the left hand on the bottom supporting the area right above the nozzle, and use a spatula to spoon in the batter with your right hand. Some people rest the bag in a cup, but I end up having a wilted nozzle which prevents me from piping straight if I do that.
- When cutting the end of the piping bag, make sure you do so in a swift, straight motion so that the hole where the batter comes out is smooth and round.
- Pipe aiming the nozzle in the middle of the square on the grid and squeeze with both hands, keeping the piping bag straight until the batter spreads around the middle and the edge of the circle touches the grid line. The batter should be thick enough to not drip when moving the piping bag across the paper.
- There might be a small bump / tip on the shell, but that should disappear as the macaron spreads. You can also push it down with a wet finger, but I don't recommend it, as it leaves the surface wet and makes it difficult for the skin to dry.
- Transferring macarons: The piped meringue will not move around, so you can lift the baking paper to set aside while you pipe more on a new baking sheet.
- When dry, lift the wax paper with the macaron shells on it directly onto a baking pan (again, the shells won’t move).
- Filling: Make sure the macarons are thoroughly cooled before piping filling. Filling is just as important as the macaron shells although they’re mostly hidden. You don’t want something too dry, but not too wet or sticky either otherwise it won’t work well with the chewiness of the shells.
- Maturing and eating: Macarons taste better after being left in the fridge overnight in full-sandwich form. Let them come to room temperature before consuming.
Happy macaron-making! Signed, Mei